
How to Set Up & Use a VPN on iPhone in 2026
Setting up a VPN on an iPhone takes about two minutes with the right app – but knowing which settings to turn on is what actually keeps you protected. This guide covers all three setup methods, the settings that matter, and the VPNs that work best on iOS in 2026.
Why Your iPhone Needs a VPN in 2026
People often assume an iPhone is private enough on its own. It’s a well-secured device, but the network it connects to sees far more than iOS can hide. Every time your phone joins a café, airport, hotel or office Wi-Fi network, the network operator – and your mobile carrier on cellular – can see which sites and services you connect to. A VPN encrypts that traffic inside a single tunnel, so the network sees only an encrypted connection to the VPN server and nothing about where it actually goes.
The most immediate reason is public Wi-Fi. Free networks are where your phone is most exposed: an attacker on the same network, or a poorly configured hotspot, can intercept unencrypted traffic. Because iPhones connect to saved networks automatically, you often join these without thinking. A VPN closes that gap the moment you connect, which is why auto-connect on untrusted Wi-Fi is one of the settings we push hardest later in this guide.
Beyond security, there’s privacy from your own providers. In many countries your mobile carrier and home ISP are legally allowed to log and even sell your browsing history. On a phone you carry everywhere, that’s a detailed record of your life. A VPN removes their view of your destinations entirely. It also lets you keep using your normal apps and services when you travel, since your connection appears to originate from the server location you choose rather than wherever you happen to be.
Finally, there’s the everyday convenience: reaching your usual streaming library while abroad, avoiding region-based price changes when booking travel, and stopping advertisers from tying your mobile sessions back to your home IP. None of this requires jailbreaking or any technical skill – modern iOS VPN apps handle everything with a single toggle, which is exactly why setting one up properly is worth the two minutes.
How to Set Up a VPN on iPhone: the App Method (2 Minutes)
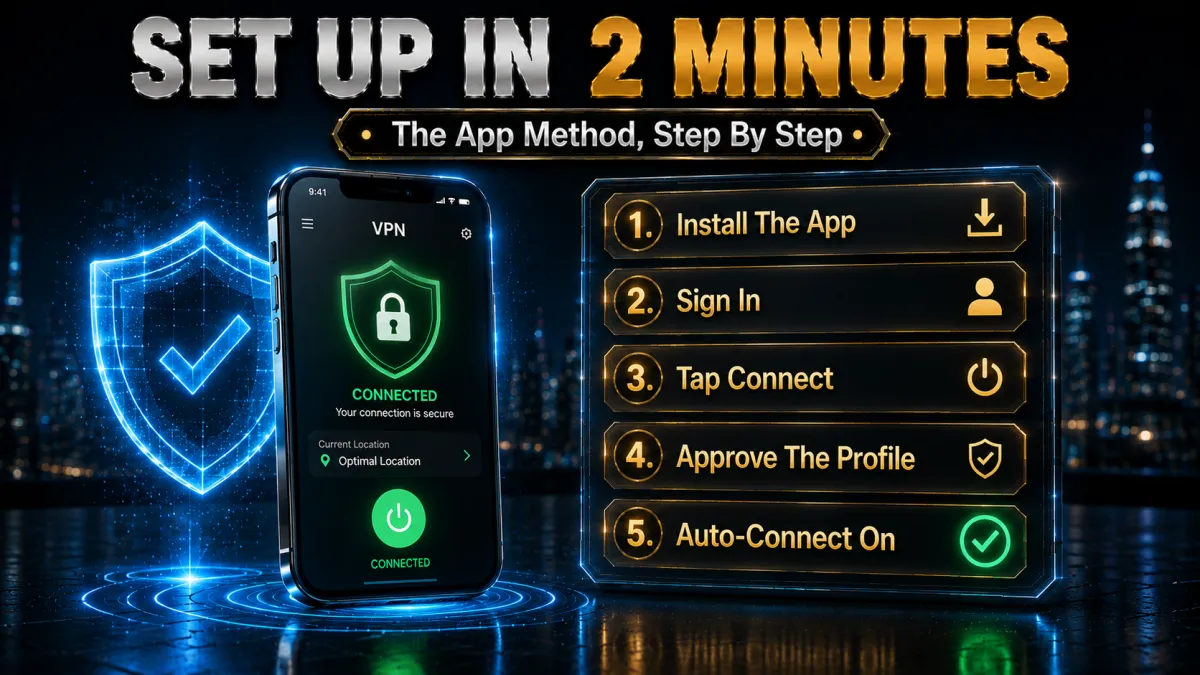
For almost everyone, the provider’s own app is the right way to set up a VPN on iPhone. It’s the fastest method, it handles all the technical configuration for you, and it unlocks features – kill switch, auto-connect, split tunnelling – that the manual method can’t offer. Here’s the exact process:
- Install the app from the App Store. Search for your provider (NordVPN, ExpressVPN, Surfshark, etc.) and download the official app. Check the developer name matches the company to avoid copycats.
- Open it and sign in. Log in with the account you created on the provider’s website, or start a subscription in the app. You don’t need to configure anything manually.
- Tap Connect. The app connects to the fastest nearby server by default. The first time, iOS will show a prompt: “[App] would like to add VPN Configurations.”
- Allow the VPN configuration. Tap Allow and confirm with Face ID, Touch ID or your passcode. This adds a VPN profile to iOS – you only do it once per app.
- Confirm the VPN badge. A small VPN icon appears in your status bar (top of the screen). That’s your confirmation the tunnel is active. To pick a country, choose a server from the app’s list before connecting.
That’s the entire process. Once the profile is approved, connecting in future is a single tap. If you ever want to see or remove it, the profile lives under Settings → General → VPN & Device Management → VPN. Everything else in this guide – auto-connect, protocols, kill switch – is configured inside the app you just installed, not in iOS itself.
Manual VPN Setup on iPhone (IKEv2 / IPSec)
iOS has a built-in VPN client, so you can add a connection manually without any app. You’d normally only do this for a work VPN, a router or home server you run yourself, or a provider that gives you manual configuration details. For a commercial VPN, the app is far better – but here’s how the manual route works when you need it:
- Get the configuration details. From your provider’s manual-setup page (or your IT department), collect the server address, remote ID, and your VPN username and password. For IKEv2 you may also get a certificate.
- Open the VPN settings. Go to Settings → General → VPN & Device Management → VPN → Add VPN Configuration.
- Choose the type. Tap Type and select IKEv2 (recommended – modern and stable), or IPSec/L2TP if your server requires it. IKEv2 reconnects quickly after your phone changes networks, which matters on mobile.
- Enter the details. Fill in a description, the server, the remote ID, and your authentication (username/password or certificate). Save it.
- Toggle it on. Back on the VPN screen, switch the configuration on. The VPN badge appears in the status bar once connected.
The manual method is reliable but bare: there’s no kill switch, no server list, no obfuscation, and no auto-updating server addresses. If a manually configured server goes down, your traffic can quietly fall back to the open connection with no protection. That’s the core reason we recommend the app method for everyday privacy and reserve manual setup for reaching a specific server you control.
How to Use WireGuard on iPhone
WireGuard is the modern VPN protocol that most top providers now use because it’s fast, efficient on battery, and reconnects almost instantly – all of which matter more on a phone than a laptop. On iOS you get WireGuard in one of two ways.
The easy way is through your provider’s app. NordVPN’s NordLynx, and the WireGuard options inside Surfshark and other apps, are all built on WireGuard – you simply select it as the protocol in the app’s settings and connect. There’s nothing else to install, and you keep all the app’s features. For most people this is the right choice.
The manual way uses the official WireGuard app from the App Store, which is useful for a self-hosted server or a provider that supplies a WireGuard config file. Install the app, tap the plus button, and add a tunnel by scanning the QR code your provider generates, importing the .conf file, or entering the details by hand. Once the tunnel is added, flip its toggle to connect. The trade-off is the same as any manual setup: no kill switch or server browser, just a raw, efficient tunnel to the endpoint you configured.
The iPhone VPN Settings That Actually Matter
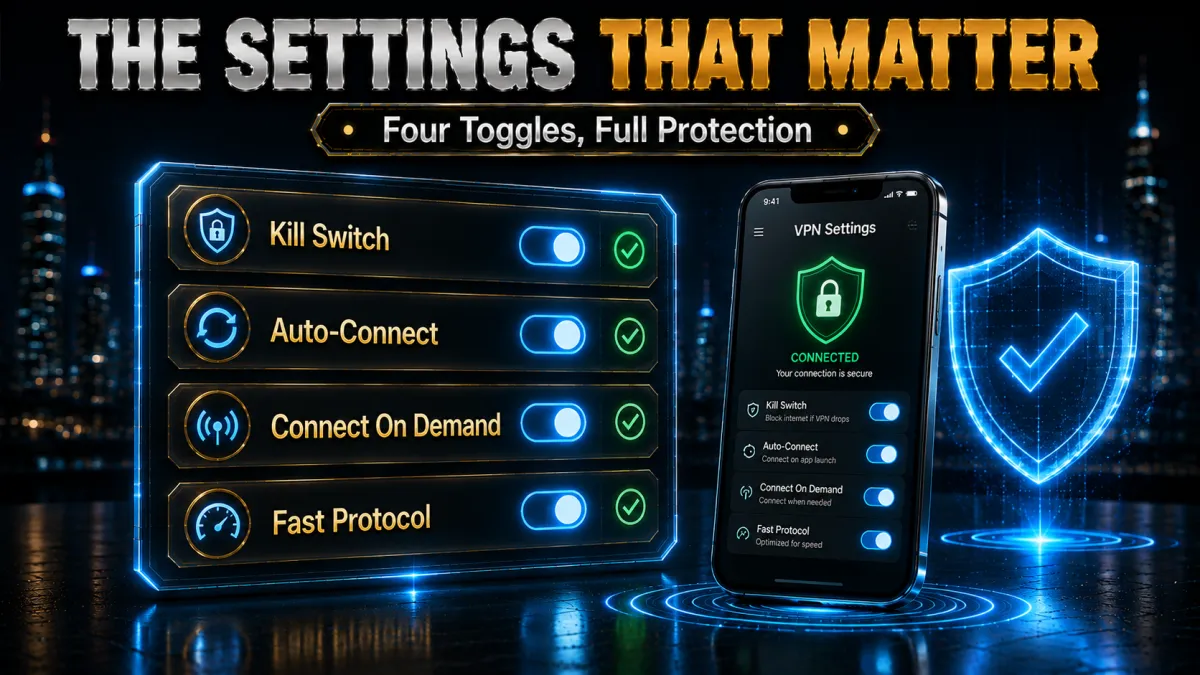
Installing the app is only half the job. A VPN that isn’t configured to stay on protects you only when you remember to tap Connect. These are the settings, all found inside your provider’s app, that turn a VPN from “installed” into “actually protecting you”:
- Auto-connect. Tells the app to connect automatically on launch, on untrusted Wi-Fi, or on cellular. This is the single most valuable setting on a phone, because it removes the human step of remembering.
- Kill switch / network protection. Blocks internet access if the VPN tunnel drops, so your real IP never slips out during a reconnection. iOS handles this slightly differently from desktop (more on that below), but reputable apps implement it via on-demand rules.
- Protocol. Set this to WireGuard (or the app’s WireGuard-based option) or IKEv2 for the best speed and battery life on iOS.
- Split tunnelling (where offered). Lets specific apps bypass the VPN – useful for a banking app that flags foreign IPs, but remember anything you exclude is visible to your network again.
- Threat/ad protection. Many iOS VPN apps include DNS-level blocking of trackers, ads and malicious domains. It’s worth enabling for a cleaner, lighter mobile browsing experience.
Set these once and the app largely runs itself. The two that make the biggest day-to-day difference are auto-connect and the kill switch – together they ensure your iPhone is never quietly online without protection.
How to Keep Your iPhone VPN Always On
A common frustration is a VPN that keeps switching itself off – after a reboot, when the phone sleeps, or when you move between Wi-Fi and cellular. Here’s the honest picture of how “always on” works on iOS, because Apple handles it differently from Android and desktop.
A true, system-enforced Always On VPN exists on iOS, but Apple restricts it to supervised devices – iPhones enrolled through Apple Configurator or a company’s mobile device management (MDM). That’s designed for businesses issuing managed phones, not for a personal device. So on your own iPhone, you generally can’t force a system-level always-on VPN the way an IT admin can.
What you use instead is Connect On Demand. In a manual configuration this is a literal toggle; in a provider’s app it’s usually presented as “auto-connect” with rules like “connect on untrusted Wi-Fi” and “connect on cellular.” When set up, iOS re-establishes the tunnel automatically whenever a matching network condition occurs, which in practice keeps you protected almost all the time. Enable auto-connect for every network type, and the gaps shrink to the brief moment during a network handoff – exactly what the kill switch is there to cover.
iCloud Private Relay vs a Real VPN
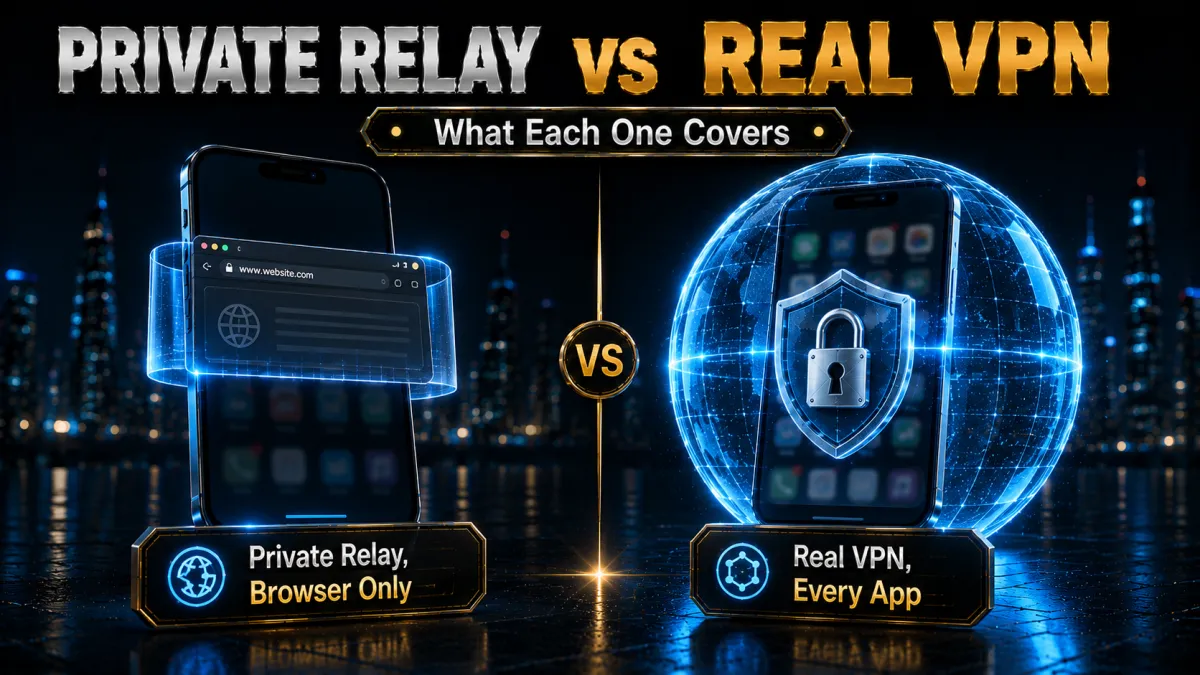
If you subscribe to iCloud+, you’ve probably seen iCloud Private Relay and wondered whether it replaces a VPN. It doesn’t – and understanding the difference saves you from a false sense of security. Private Relay is a privacy feature, not a full VPN, and it’s deliberately limited.
Private Relay routes your traffic through two separate relays so that no single party – not even Apple – sees both who you are and what you’re browsing. That’s genuinely good for privacy. But it works only in Safari: your other apps, and any browsing outside Safari, aren’t covered at all. It also can’t let you choose a country (it keeps you in your general region), so it won’t change your apparent location or unblock region-locked content, and it’s available only to paying iCloud+ users.
A real VPN, by contrast, covers every app on the device, lets you pick a server location anywhere in the world, and gives you a kill switch, auto-connect and configurable protocols. Think of Private Relay as a light privacy layer for Safari, and a VPN as full-device protection with control. If you already pay for iCloud+, leave Private Relay on – but don’t mistake it for the whole-phone protection a VPN provides.
| Feature | iCloud Private Relay | Full VPN |
|---|---|---|
| Coverage | Safari only | Every app on the device |
| Choose a country | No | Yes, servers worldwide |
| Unblock region content | No | Yes |
| Kill switch / auto-connect | No | Yes |
| Cost | Included with iCloud+ | Separate subscription |
Is Using a VPN on iPhone Safe and Legal?
Yes on both counts, with a couple of sensible caveats. Using a VPN is legal in the vast majority of countries, including the US, UK, Canada, Australia and across the EU. A handful of countries – such as China, Russia, Iran and a few others – restrict or ban unapproved VPNs, so if you travel there, check local rules first. Using a VPN to commit an actual crime is of course still illegal; the tool itself is not.
On safety, a reputable VPN app from the App Store is safe to install and use. Apple’s review process weeds out the most obvious bad actors, and quality providers have their no-logs claims independently audited so there’s a paper trail behind the privacy promise. The risk isn’t VPNs in general – it’s specifically shady free ones, which we cover next.
One iPhone-specific point worth knowing: a VPN encrypts what you send over the network, but it can’t hide your physical location from the cellular network itself, because that comes from which towers your phone talks to. It also doesn’t stop apps you’re logged into from identifying you through your account. Treat a VPN as strong protection for your network traffic – which is exactly what it’s designed for – rather than total anonymity.
The Best iPhone VPNs in 2026
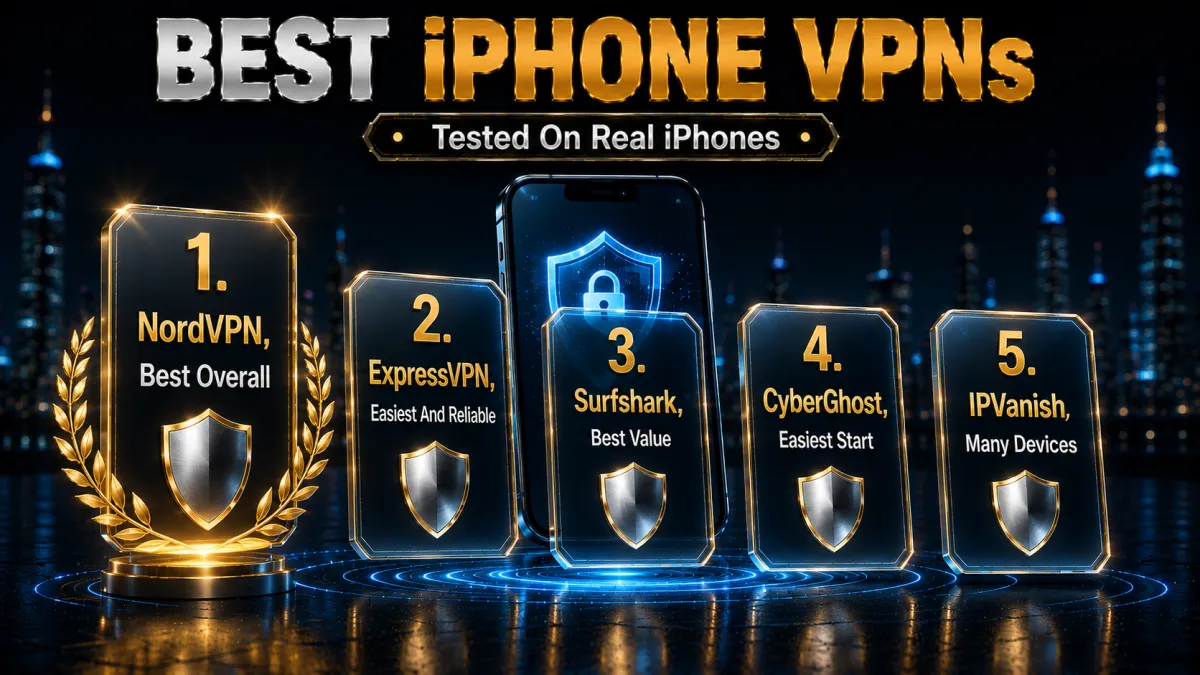
The best iPhone VPN is one with a polished iOS app, WireGuard-based speed, reliable auto-connect, and an independently audited no-logs policy. These three meet that bar and are the ones we recommend first. All offer a 30-day money-back guarantee, so you can install the app, run through this guide, and test them on your own iPhone before committing.
1. NordVPN, Best Overall for iPhone
NordVPN’s iOS app is fast, clean and reliable, and its NordLynx protocol (built on WireGuard) is excellent for battery life and quick reconnection as your iPhone hops between Wi-Fi and cellular. Auto-connect on untrusted networks works well, its no-logs policy has been independently audited multiple times including by Deloitte, and Threat Protection blocks trackers and malicious domains at the DNS level for a cleaner mobile experience.
✔ Pros
- Polished iOS app with reliable auto-connect
- Fast, battery-friendly NordLynx (WireGuard)
- Independently audited no-logs (Deloitte)
- Threat Protection blocks trackers and malware
✘ Cons
- Price rises at renewal
- Widget could show more at a glance
| Price from | ~$3.39/mo (2-year) |
| No-logs | Audited (Deloitte) |
| Best protocol | NordLynx (WireGuard) |
| Money-back | 30 days |
2. ExpressVPN, Easiest and Most Reliable
ExpressVPN is the most beginner-friendly option on iOS: the app is beautifully simple, and its Lightway protocol is purpose-built to re-establish the tunnel almost instantly after a network change – ideal for a phone that constantly switches networks. Its no-logs claim has been repeatedly audited, and TrustedServer technology runs servers entirely in RAM so no data is written to disk. It’s the one to pick if you want it to simply work without thinking.
✔ Pros
- Simplest, most polished iOS app
- Lightway reconnects instantly on network changes
- Repeatedly audited no-logs, RAM-only servers
- Excellent 24/7 support
✘ Cons
- More expensive than rivals
- Fewer simultaneous connections
| Price from | ~$4.99/mo (long plan) |
| No-logs | Audited + RAM-only |
| Best protocol | Lightway |
| Money-back | 30 days |
3. Surfshark, Best Value for iPhone
Surfshark delivers the same core iOS experience as the pricier options – a clean app, WireGuard speed, auto-connect and a kill switch – at a noticeably lower price, and it allows unlimited simultaneous devices on one subscription. That makes it the standout pick for anyone protecting a whole household of iPhones, iPads and Macs on a single plan. Its no-logs policy is independently audited and it runs a RAM-only server fleet.
✔ Pros
- Unlimited devices on one subscription
- WireGuard speed with auto-connect and kill switch
- Audited no-logs, RAM-only servers
- Excellent price on longer plans
✘ Cons
- Speeds slightly behind the top two
- Short monthly plan is comparatively pricey
| Price from | ~$2.19/mo (long plan) |
| No-logs | Audited + RAM-only |
| Best protocol | WireGuard |
| Money-back | 30 days |
4. CyberGhost, easiest for beginners
CyberGhost offers one of the simplest iPhone experiences of the group. Its iOS app is clean and uncluttered, connecting is a single tap, and servers are clearly labeled by purpose so you are never left decoding a list of city names. For someone setting up their first VPN on an iPhone, that friendliness removes almost all the friction.
The app supports WireGuard for efficient speed and light battery use, includes a kill switch, and can be set to connect automatically on untrusted Wi-Fi, which is exactly when an iPhone most needs protection. It is based in Romania with no data-retention law and a strict, independently audited no-logs policy.
The 45-day money-back guarantee is the longest here, giving new users plenty of time to confirm the app behaves well on their device and daily networks before paying. It covers up to seven devices on one plan, so the same subscription can protect an iPhone, an iPad, and a laptop together with room to spare.
✔ Pros
- Clean, beginner-friendly iOS app
- WireGuard for speed and battery
- Romania-based privacy
- Auto-connect and kill switch
- 45-day money-back window
✘ Cons
- Slower under heavy peak load
- Fewer devices than the value picks
| iOS app | Yes |
| Protocol | WireGuard |
| Kill switch | Yes |
| Price from | ~$2 to $3/mo (long-term plan) |
| Simultaneous devices | 7 |
| Money-back guarantee | 45 days |
5. IPVanish, best for many devices
IPVanish is a solid iPhone option for users who value speed and want to cover every device they own. Owning its own server network keeps throughput steady, and unlimited simultaneous connections mean one account protects an iPhone, iPad, Mac, and anything else at once without counting seats or hitting a device cap.
The iOS app is straightforward, with WireGuard support, a kill switch, and an on-demand option to connect automatically on unknown networks. It is functional rather than flashy, which suits people who want the VPN to work quietly in the background rather than demand attention.
The honest caveat is jurisdiction: IPVanish is US-based inside the Five and Nine Eyes alliances, so the privacy-focused may prefer an offshore provider. It offsets that with an independently audited no-logs policy and a 30-day money-back guarantee, and for an iPhone owner who prioritizes fast, reliable performance and unlimited device coverage, the value is strong.
✔ Pros
- Solid, reliable iOS app
- WireGuard support on iOS
- Owns its network for steady speed
- Unlimited simultaneous devices
- Strong long-term value
✘ Cons
- US-based, inside the 9 Eyes alliance
- Interface plainer than rivals
| iOS app | Yes |
| Protocol | WireGuard |
| Kill switch | Yes |
| Price from | ~$3 to $4/mo (long-term plan) |
| Simultaneous devices | Unlimited |
| Money-back guarantee | 30 days |
Are Free iPhone VPNs Safe?
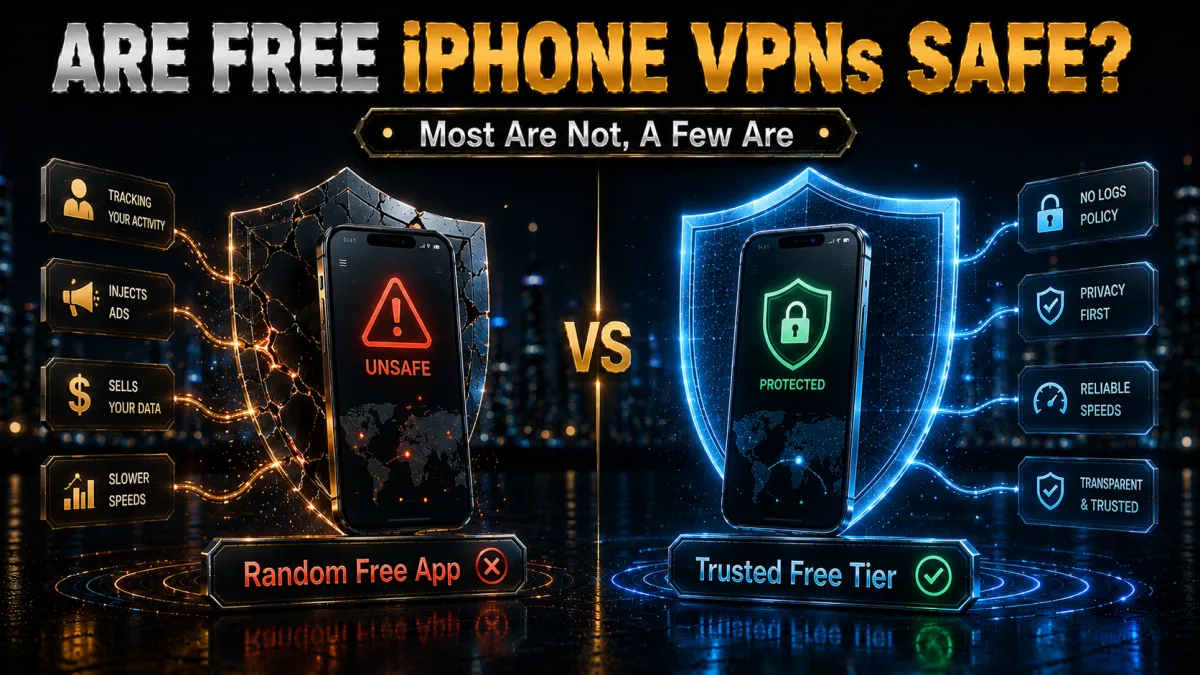
Mostly no, and it’s worth being blunt about why. Running a global VPN network costs money, so a “free” VPN has to make its money somewhere – and too often that means logging your activity and selling it to advertisers or data brokers, which is the exact opposite of what you installed a VPN to do. Others cripple the free tier with tiny data caps, a handful of slow servers, and no kill switch, leaving you exposed the moment the connection drops.
There is one honest exception worth naming: Proton VPN offers a genuinely free tier with no data cap, no logging, and no ads, funded by its paid plans. It’s limited to a few countries and slower than premium options, but it’s a legitimate, safe free choice from a respected privacy company. If you truly need a no-cost option, that’s the one to trust.
For everyone else, the maths is simple: a reputable paid VPN costs a couple of dollars a month on a longer plan and gives you audited no-logs, a proper kill switch, fast WireGuard speeds and full app coverage. On a device that holds your messages, banking and photos, paying a little for a provider whose business is protecting your data – rather than monetising it – is the safer trade.
What to Look for in an iPhone VPN
Not every VPN is equally good on iOS specifically. When you’re judging one for iPhone, these are the things that actually matter, rather than the marketing headline of “how many servers”:
- A polished native iOS app. Auto-connect, quick-connect and a Today-screen widget make a real difference to whether you actually keep the VPN on day to day.
- WireGuard or a WireGuard-based protocol. This is what gives you speed without hammering your battery – the biggest practical concern on a phone.
- Reliable auto-connect and kill switch. Because iOS doesn’t offer system-level always-on for personal devices, the app’s own reconnection logic is what keeps you protected between networks.
- An independently audited no-logs policy. A privacy promise means little without a third-party audit behind it; the top providers publish theirs.
- Servers where you need them. More useful than a huge raw count is having fast servers in the specific countries you actually connect to.
- Fair pricing and a money-back guarantee. A 30-day guarantee lets you test the app properly on your own iPhone before you commit.
Weigh those against the price and you’ll have a VPN that you’ll genuinely leave running – which, in the end, is the only VPN that protects you.
Fixing Common iPhone VPN Problems
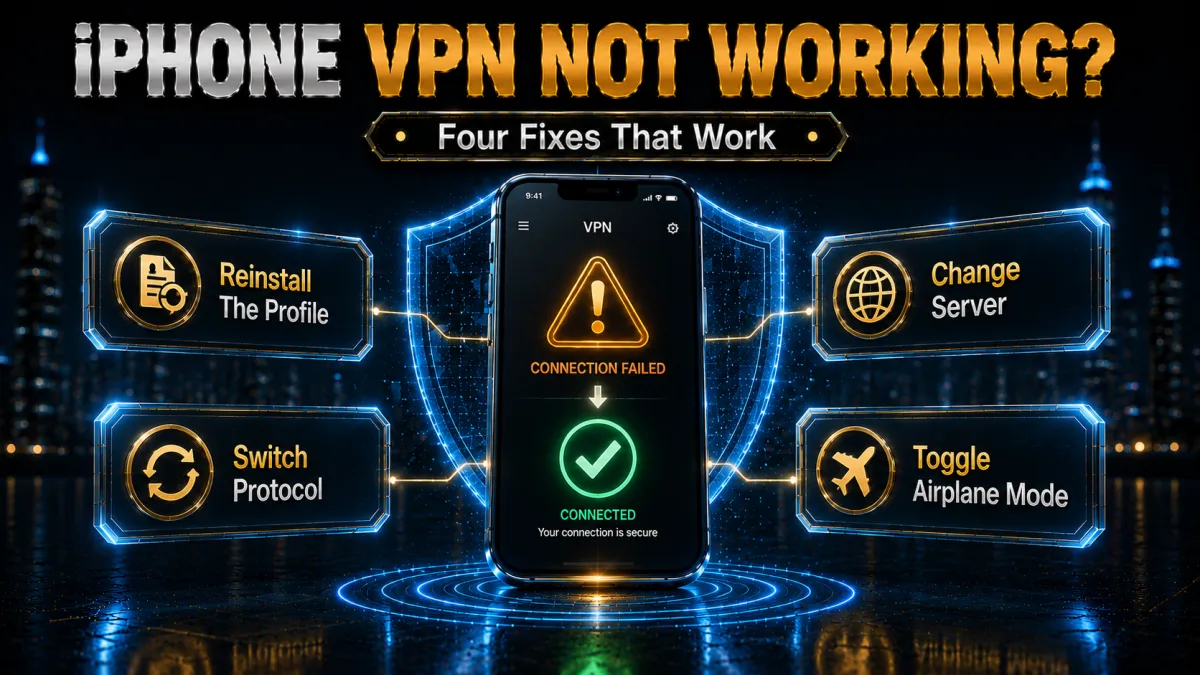
Most iPhone VPN issues have quick fixes. Work through these in order for the problem you’re seeing:
- VPN won’t connect. Switch to a different server, then try changing the protocol (to WireGuard or IKEv2) in the app’s settings. If it still fails, delete the app’s VPN profile under Settings → General → VPN & Device Management and reconnect to let the app recreate it.
- It keeps disconnecting. Turn on the app’s auto-connect and “reconnect” options so iOS re-establishes the tunnel after network changes. A nearby, less-crowded server also holds the connection more steadily.
- Everything feels slow. Connect to a server geographically closer to you and switch to WireGuard. Distant servers and heavy protocols are the usual cause of a sluggish mobile connection.
- The “VPN” badge is stuck on. If you disconnected in the app but the status-bar badge remains, toggle Airplane Mode on and off, or restart the phone. If a leftover manual profile is the cause, remove it in VPN & Device Management.
- An app or website blocks you on the VPN. Some banking apps flag foreign VPN IPs. Use split tunnelling to exclude that one app, or connect to a server in your home country.
- You can’t remove a VPN configuration. Go to Settings → General → VPN & Device Management, tap the profile, and delete it there. If it was installed by an app, deleting the app also removes its profile.
Does a VPN Slow Down or Drain an iPhone?
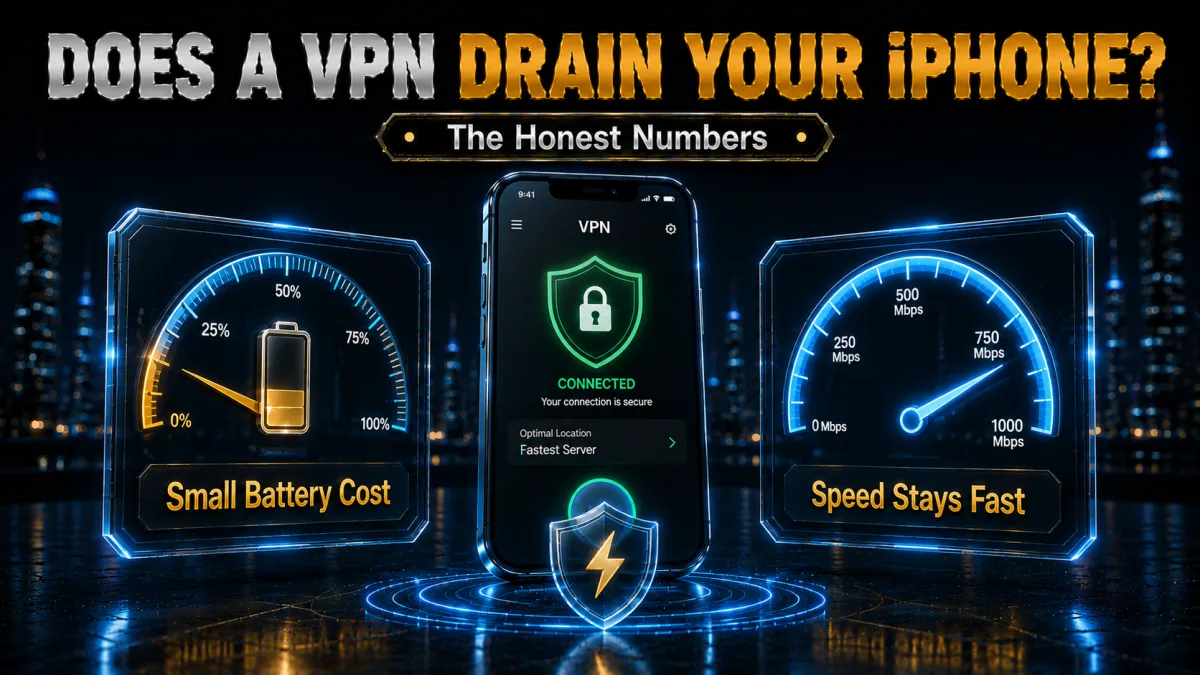
A little, but far less than people expect if you set it up sensibly. Encryption adds a small amount of processing, and routing through a server adds some distance, so you’ll see a modest speed reduction and a slightly higher battery draw. On a nearby server with WireGuard, both are usually small enough that you won’t notice them in normal use.
The things that make it noticeable are the ones you control: a server on the other side of the world adds real latency, and older, heavier protocols like OpenVPN work the processor harder and drain more battery. Keeping the protocol on WireGuard or IKEv2 and choosing a sensible server location is what keeps the impact minimal. Auto-connect doesn’t meaningfully hurt battery either, because the tunnel sits idle when you’re not actively sending data.
If you do want to maximise battery on a long day, the reasonable middle ground is to use auto-connect on untrusted Wi-Fi – where protection matters most – rather than forcing the VPN on across every cellular connection. That gives you protection where you’re actually exposed while keeping battery use to a minimum the rest of the time.
Using Your iPhone VPN While Travelling (eSIM & Roaming)
An iPhone VPN really earns its place the moment you leave home, so it’s worth setting up properly before you travel rather than fiddling with it at the airport. The two situations that trip people up are public Wi-Fi abroad and eSIM data, and both are easy to handle once you know what to expect.
On foreign public Wi-Fi – hotels, airports, cafés – your iPhone is exactly as exposed as it is at home, arguably more so on unfamiliar networks. Turn on your VPN app’s auto-connect for untrusted Wi-Fi before you leave, so the tunnel comes up automatically the instant you join any new network on the trip. One quirk to know: many hotel and airport networks use a “captive portal” (the sign-in page that appears when you connect). If your VPN connects too aggressively it can block that page, so let the portal load and sign in first, then let the VPN take over.
If you use a travel eSIM for cheap local data, the good news is a VPN works over it exactly as it does over any cellular connection – the eSIM is just another data line to iOS. Install and sign into your VPN app as normal, and enable auto-connect on cellular so your eSIM traffic is protected too. Combining an eSIM for affordable data with a VPN for privacy is one of the best setups for iPhone travellers: you get local rates without handing your browsing to an unfamiliar foreign carrier.
Two final travel tips. First, if you’re visiting a country that restricts VPNs, download and set up the app before you arrive, since VPN sites and app listings are sometimes blocked locally. Second, to reach your home streaming library while away, simply connect to a server back in your home country – your apps will behave as if you never left. Set all of this up the night before you fly, and your iPhone stays private and useful from the moment you land.
Frequently Asked Questions
How do I set up a VPN on my iPhone?
Install a reputable VPN app from the App Store, open it and sign in, then tap Connect. When iOS asks to add a VPN configuration, tap Allow and confirm with Face ID or your passcode. A VPN badge appears in the status bar. The whole process takes about two minutes.
Does iPhone have a built-in VPN?
iOS has a built-in VPN client for adding a connection manually under Settings, General, VPN and Device Management, but it doesn’t come with a VPN service. You still need a provider, and for everyday use their app is far better than the manual setup.
Is iCloud Private Relay the same as a VPN?
No. Private Relay only protects Safari, can’t let you choose a country, and won’t unblock region-locked content. A VPN covers every app, lets you pick a server location worldwide, and adds a kill switch and auto-connect. Private Relay is a light Safari privacy feature, not a full VPN.
Can I keep a VPN always on with an iPhone?
A true system-enforced Always On VPN is limited to supervised devices managed by an organisation. On a personal iPhone you get the practical equivalent by enabling the app’s auto-connect for both Wi-Fi and cellular plus its kill switch, so the tunnel re-establishes itself automatically.
Which VPN protocol is best on iPhone?
WireGuard, or a provider’s WireGuard-based option like NordLynx, is the best default because it’s fast and easy on the battery. IKEv2 is a strong second choice that handles network switches well. Avoid older protocols like OpenVPN on a phone unless you specifically need them.
Are free VPNs safe on iPhone?
Most are not. Many free VPNs log and sell your data, cap your usage, or skip the kill switch. The one trustworthy free option is Proton VPN’s no-cost tier, which has no data cap and no logging. Otherwise a low-cost audited paid VPN is much safer.
Will a VPN drain my iPhone battery?
Only slightly if you use WireGuard or IKEv2 on a nearby server. Distant servers and heavier protocols like OpenVPN cause the noticeable drain. Auto-connect has little effect because the tunnel is idle when you’re not transferring data.
Is it legal to use a VPN on an iPhone?
Yes, in the large majority of countries including the US, UK, EU, Canada and Australia. A few countries such as China and Russia restrict unapproved VPNs, so check local rules before travelling. The tool is legal; using it for an actual crime is not.
Why does my iPhone VPN keep turning off?
Usually because auto-connect isn’t enabled, so iOS doesn’t re-establish the tunnel after a network change or reboot. Turn on the app’s auto-connect and reconnect settings, and choose a stable nearby server, to keep it connected.
Can I use one VPN on my iPhone, iPad and Mac?
Yes. Most providers allow several simultaneous connections on one account, and Surfshark allows unlimited devices. Install the same provider’s app on each Apple device and sign in with the same account.
The Bottom Line
Setting up a VPN on an iPhone is genuinely a two-minute job: install a reputable app, tap Connect, and allow the configuration. The part that actually protects you is what comes next – turning on auto-connect for Wi-Fi and cellular, enabling the kill switch, and setting the protocol to WireGuard or IKEv2 so it stays fast and easy on the battery. Do that, and your iPhone is protected on every network without you having to think about it.
For most people, NordVPN is the best all-round choice, ExpressVPN is the most effortless, and Surfshark is the best value – especially if you’re covering several Apple devices. Whichever you pick, use the 30-day money-back guarantee to test it on your own iPhone, run through the settings in this guide, and keep only the one that you’ll actually leave running.
Jyoti VPN Expert leads VPN testing at VPN Expert Guide, covering streaming and regional access, speed and latency testing, and leak checks on Windows, Android and router-level setups. Our guides are built from vendor documentation, provider terms and our own connection testing on a residential line in India, and we publish those measurements in full so readers can check them. Every guide is reviewed before publication and dated so you can see how current it is.
Meet our testing team →Last updated: August 24, 2026